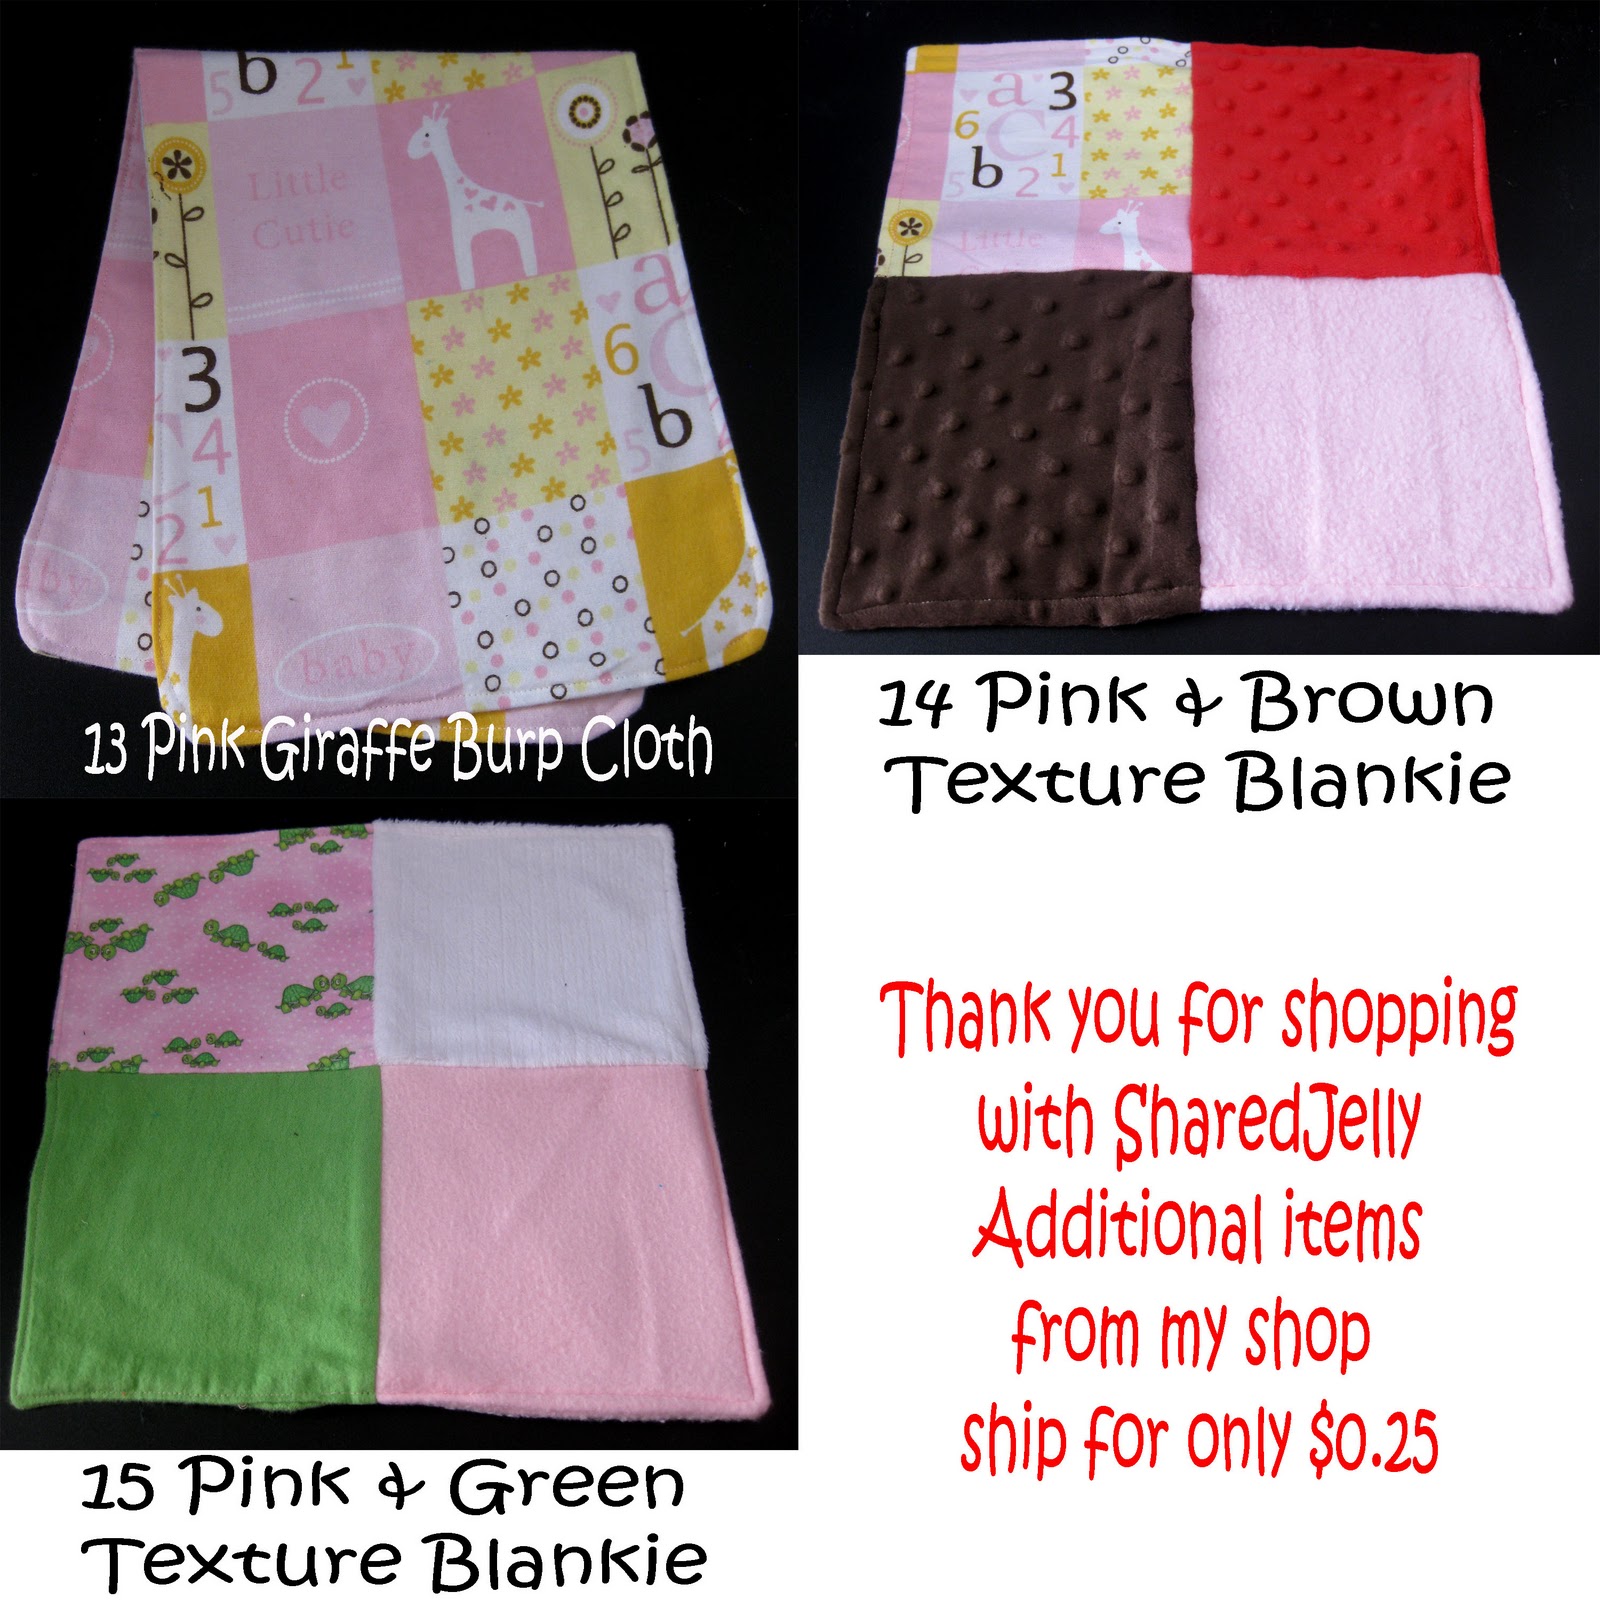
In this set, you can pick your favorite 3 for $12.
About me
Hi! I'm Shelly - mother of 5 and wife to the best man in the world. We love to play games and watch movies together. I have a passion for crafting in all it's forms - sewing, scrapbooking, bow making, painting, mod podge, you name it and I'll try it. Hope you enjoy our family adventures and crafts!
How I Became Shared Jelly
When my husband and I first got married we used to get messages on our answering machine for "Shared" and "Jelly" instead of Jared and Shelly. The first time we chuckled a little over it and by the fourth or fifth time, we decided the name should stick somewhere. And so, I've been sharing jelly all over the internet since. Enjoy!
Pages
Showing posts with label Baby. Show all posts
Saturday, February 4, 2012
Wednesday, February 1, 2012
Crocheted Headband with Peacock Feathers and Rosettes
Monday, January 23, 2012
Baby Gift Sets
I'd like to show you what I've been working on in my Etsy Shop lately.
Instead of trying to guess what people want in a baby gift set, I am trying something a little new. I posted up my baby items and am going to let the buyer choose which items they want. You can pick your favorite 5 items for $20.
Here is the boy set:
And the girl set:
Which items would you choose?
Instead of trying to guess what people want in a baby gift set, I am trying something a little new. I posted up my baby items and am going to let the buyer choose which items they want. You can pick your favorite 5 items for $20.
Here is the boy set:
And the girl set:
Which items would you choose?
Tuesday, November 29, 2011
Quiet Book #2
I saw this idea on etsy here. It is a Spot the Dot quiet book. You use the red dot through the book as it transforms to new things on each page. The original is done in just black and white, but I made mine in lots of colors. I didn't have the printed sentences on the bottom, but I added a few pages, too. My pages are made from some sample swatches of curtain fabrics that my husband got when he was working for a company who does curtains/blinds. You could easily do it on felt instead. Anyways, you get the idea. I made this for my baby girl for Christmas. Hopefully it will keep her busy at church.
Sunday, October 16, 2011
Baby Size Referee
A dear friend of mine contacted me because she wants to have her baby boy be a referee for Halloween. The only problem is that it's a really hard costume to come by in a size 9 months. Luckily she had an old referee shirt that could be transformed.
I started with this adult sized shirt. I pinned in the collar at the seam to shrink it down to baby size (using a 9 month shirt as a guide)
then I turned it inside out and sewed along the existing seam where I pinned.
I trimmed off the excess and grabbed my 9 month shirt again to use as a pattern.
I lined it up to the center of my collar and pinned it in place. Next I cut around the shirt (through both top and bottom layers) leaving about 1/2 inch around it to allow for seams. Here's where I am so far. Notice, I cut the bottom in a curve like the original shirt. To get it right I cut it out on paper first, then pinned it on. I also made the length of the shirt about 3 inches longer to allow for the curve.
Next, I used the existing sleeves to create smaller sleeves. Lining up with the top side of the sleeve. ( I used my 9 month shirt to cut out a little template of the sleeve)
Although I didn't take pictures of the next part, you basically just sew all the pieces together at this point. I opened up the shirt and pinned on the sleeves. You sew the top of the sleeve on first then sew up the bottom (like in a standard pattern). Once I had the sleeves on, I sewed up the sides of the shirt and hemmed the bottom.
The end product is a miniature referee shirt. It even looks store bought with the tag still in from the existing shirt.
Hope it works out well, Annette. Super quick and fun way to get a costume together. You could use this same method to turn just about any old shirt you have into a baby sized one.
I started with this adult sized shirt. I pinned in the collar at the seam to shrink it down to baby size (using a 9 month shirt as a guide)
then I turned it inside out and sewed along the existing seam where I pinned.
I trimmed off the excess and grabbed my 9 month shirt again to use as a pattern.
I lined it up to the center of my collar and pinned it in place. Next I cut around the shirt (through both top and bottom layers) leaving about 1/2 inch around it to allow for seams. Here's where I am so far. Notice, I cut the bottom in a curve like the original shirt. To get it right I cut it out on paper first, then pinned it on. I also made the length of the shirt about 3 inches longer to allow for the curve.
Next, I used the existing sleeves to create smaller sleeves. Lining up with the top side of the sleeve. ( I used my 9 month shirt to cut out a little template of the sleeve)
Although I didn't take pictures of the next part, you basically just sew all the pieces together at this point. I opened up the shirt and pinned on the sleeves. You sew the top of the sleeve on first then sew up the bottom (like in a standard pattern). Once I had the sleeves on, I sewed up the sides of the shirt and hemmed the bottom.
The end product is a miniature referee shirt. It even looks store bought with the tag still in from the existing shirt.
Hope it works out well, Annette. Super quick and fun way to get a costume together. You could use this same method to turn just about any old shirt you have into a baby sized one.
Tuesday, August 16, 2011
Baby Gift Set
Made this baby gift set, for my SIL. It's a blankie, burp cloth, bib, booties and a hat. Hope she likes it. I really enjoy this print because it's girly without being pink!
It's the first time I made a flannel blankie with the minky on the back. So soft, I love it. It will be good for her fall baby.
Monday, August 15, 2011
Boy Baby Booties
I made some shoes for my nephew. I had to look for new ideas so that he wouldn't have girly shoes. Here is my little boy shoe. (although I think these would still be cute for girls, too)
I think for next time, I'll figure out how to get some elastic in the backs to help them stay on better. Hope he enjoys them.
Tuesday, July 26, 2011
I Just Can't Stop!
I just keep making my baby new shoesies! This time I made cloth flowers with rosettes like this:
And I put them on some new white shoes like this:
The nice thing is that the shoes are washable. The hard thing is she gets them really dirty and I am finding that more pairs allows me to wash more frequently. I have a couple more pairs coming still. Some day I'll give it up and buy her some shoes, but for now. . .
And I put them on some new white shoes like this:
The nice thing is that the shoes are washable. The hard thing is she gets them really dirty and I am finding that more pairs allows me to wash more frequently. I have a couple more pairs coming still. Some day I'll give it up and buy her some shoes, but for now. . .
Tuesday, July 5, 2011
New Shoesies!
I bought my baby girl some "real" shoes from the store and the toes were torn through in less than a week. Evidently they do not account for babies to crawl in them at all (very short-sighted). Not wanting to fork out another $15 on shoes that wouldn't last, I raided my fabric collection and made her some bigger booties. These ones have suede on the bottom for a little extra durability. We'll see how they hold up. I love that they are washable, though. I just throw them in with my other laundry and they come out fine (the top ones have already been washed once.)
Friday, April 8, 2011
Baby Gift Sets
I have a new project that I've been working on. I'm trying to get some cute baby stuff together so that I can have baby gifts all set when I need them. I've been picking up some cute flannels and getting busy.
So far, my sets are made up of bibs, burp cloths, booties and reversible hats. I especially love this little pirate material above. So cute.
Tuesday, March 8, 2011
Diaper Clutch
Here's my problem. When you have a baby, you always have to have diapers and such with you so you turn to a diaper bag. You also need a purse to keep your keys, wallet and such in. So then you have a diaper bag and a purse to bring around with you everywhere. I for one, don't like to have two bags with me, so a while back I made a purse to use for both. It was great. I loved it, but now my baby doesn't go through diapers as often and I don't need quite as much stuff with me all of the time. And so, I made a diaper clutch to keep in my car for when I need it.
It holds my changing pad a couple of diapers and (although I didn't take a picture with one) a pocket for an extra onesie.
It's compact (about 10 inches by 10 inches closed), easy to grab when you need it and it's cute, too.
It holds my changing pad a couple of diapers and (although I didn't take a picture with one) a pocket for an extra onesie.
It's compact (about 10 inches by 10 inches closed), easy to grab when you need it and it's cute, too.
Wednesday, March 2, 2011
Baby Mary Janes
What girl doesn't like a new pair of shoes, right? I had a little of this cute print and I couldn't resist making some little shoes out of it. The kids call these the "cow shoes." Now the real hard part is getting this little girl to keep them on. She loves to pull off the shoes and socks.
Tuesday, February 22, 2011
Knit Flower Embellishment
I started by cutting some flowers by hand. As you can see they are far from perfect, but it will totally not matter for this project. I love that. If you are a perfectionist, I'm sure you can find a flower pattern online to copy.
I cut four of each and layered the one with five petals on top of the four.
I lined them up and sewed an x in the center. The great thing is that the knit won't fray in the wash and they also curl up so much that you won't see the imperfections. So easy, right? You should try it on one of your shirts!
Updated Pacifier Clip
I don't like how icky and gross the pacifier straps get after being loved and drooled on by a baby. Luckily, they are super easy to update. All you need is a length of ribbon and a little bit of velcro (or use the ones from the original strap)
Start by cutting off the old strap on the pacifier clip. (use a seam ripper to remove the velcro if you want to reuse it) Keep the clip part. Cut your ribbon 9 inches in length. (The law is that babies shouldn't have anything longer than 6 inches for choking hazard reasons - the other 3 inches is for sewing. I won't tell if you like your strap a little longer, though) Don't you love my awesome red starry pajama pants as a backdrop?
Get your ribbon ready by taking a match to the ends. As you come close to the ribbon, it will melt down a little bit to keep the edges from fraying.
Loop 1 inch of ribbon through the clip and sew in place (this should leave room for the foot of your machine).
I sew two seams about 1/8 of an inch apart for extra durability.
Then sew your velcro to the other end on the back side of the ribbon. Mine are sewn about 2 inches apart to allow room to put the pacifier in easily.
That's it! You are done. So easy, right?
Start by cutting off the old strap on the pacifier clip. (use a seam ripper to remove the velcro if you want to reuse it) Keep the clip part. Cut your ribbon 9 inches in length. (The law is that babies shouldn't have anything longer than 6 inches for choking hazard reasons - the other 3 inches is for sewing. I won't tell if you like your strap a little longer, though) Don't you love my awesome red starry pajama pants as a backdrop?
Get your ribbon ready by taking a match to the ends. As you come close to the ribbon, it will melt down a little bit to keep the edges from fraying.
Loop 1 inch of ribbon through the clip and sew in place (this should leave room for the foot of your machine).
I sew two seams about 1/8 of an inch apart for extra durability.
Then sew your velcro to the other end on the back side of the ribbon. Mine are sewn about 2 inches apart to allow room to put the pacifier in easily.
That's it! You are done. So easy, right?
Subscribe to:
Posts (Atom)