I saw this skirt at Old Navy and I really loved it. . . but I didn't like the $30 price tag it had. What can I say, I'm a frugal girl. After looking at it for a minute and trying to justify the price tag, I realized that my real problem was that I knew I could make it for much cheaper. So I went to my friend JoAnn's and picked up 1 1/3 yard of some light faux jean material. I also picked up some matching thread. It cost me a little under $12 because the fabric was 50% off. (Save those coupons ladies) I brought it home and got to work. I am by no means a pro at this and was making it up as I went along, so feel free to improve upon this in ways you would like.
I am about a size medium. If you need to adjust the size of the pattern, here is what you need to know. You want your waistband a couple inches bigger than your waist so that you have room to get in. Each tier should be about 1.5 times wider than the one above it. You can also go a little longer with the skirt by increasing the 7 inch tiers to 8 or 9 inches. Just remember each inch you add on each tier adds 3 inches to the skirt length.
Here are my sketches of how this is going to shake down. The top shows how I cut the fabric on a 60" nap fabric. I cut 3 - 2"x 60" strips for the ties and loops, 1 - 5 "x40" for the waistband (although in retrospect I would have cut this down to 36 inches), 2 - 7"x45" inch strips, and 3 - 7"x60" strips. (If you want to nit-pick, the last tier should actually be 7 1/2 tall to allow for the bottom seam - Oops!) Are you with me so far? Then you can see above how the strips will break down to each tier.
5"x40" waistband
7"x60" tier 1
7"x90" (sew the 2 -45" strips to make one long strip) tier 2
7"x120" (sew the 2 - 60" strips to make one long strip) tier 3
Now that you have everything cut, here's where we start. Take your waistband piece, fold and press it down the center so that it is 2 1/2 inches now. Now you are going to take your 7"x60" strip and run it through your sewing machine with a gathering stitch about 1/8" from one side. Make sure to leave the ends long in case you need to pull out some of the tightness in your gathered stitch. This material is pretty thin, so you machine will gather it right up. Here is how mine came out.
Next, we are going to pin the waistband piece to the gathered piece for the first tier of the skirt. You need the gathered piece to be the same 40 inches as your waistband piece, so take it in or let it out to fit accordingly. Also make sure that your gathers are well distributed across the length. You don't want any places where it is too bunched up or too flat.
Now you are going to sew these two together. For those of you lucky girls with sergers, serge the edge, for the rest of us, gear up for a straight stitch to hold your seam and a zig zag stitch so that you can wash it without the edges fraying too much. Just stitch all the way down to the end. You can see my zig zag stitch along the edge below.
Once you are finished, you are going to turn your fabric right side out. Here is what you have so far.
Once you have the skirt back to right - side out, we are going to do a top stitch about 1/8 above your seam. You want to fold your seam up under it from the back. This will not only hold your seam up and keep it secure, but it makes the garment look a little less homemade and a little more store-bought. (Like the original one in the picture.
You have now successfully completed one tier of your skirt. Two more to go. Simply repeat the above steps of gathering, stitching(or serging) and top stitching the next two layers. The only thing you should watch is to make sure all your center seams line up as you go.
Once you add your second and third tiers, sew the two ends together to create your skirt. Here's what you have when you are done.
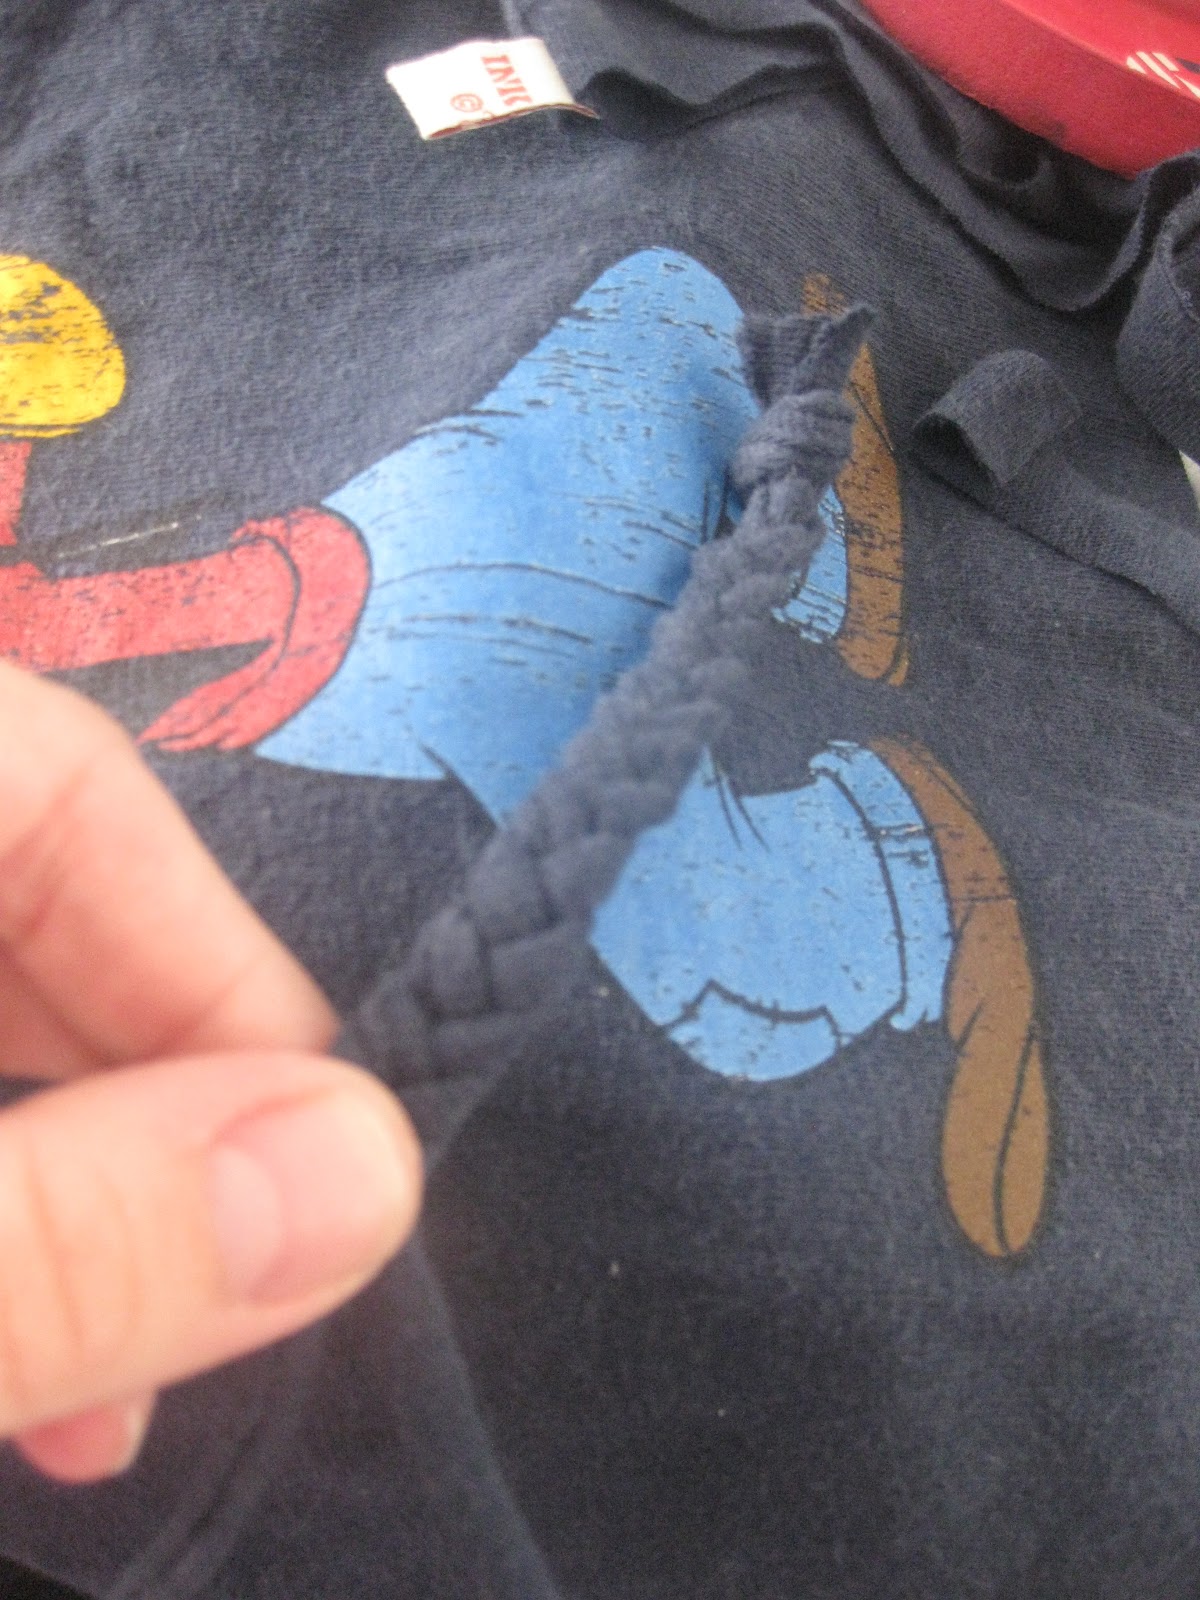
Next, we are going to create your ties for the waistband. Sew together your 3 - 2"x60" strips end to end to make one massively long strip. (You will probably have some left over, but better too much than too little, right?) Now fold the two edges into the middle and fold the whole thing in half. If you are a rock-star, you can press it all with your iron. If you are lazy (like me) you just fold and run it through the machine as below.
Cut some 5 - 3" long strips for the loops of your tie/belt. Decide where you want the loops on your skirt and mark it with pins. I did two in the front and three in the back.
Sew on your loops. Do a double fold over on the top and bottom to ensure they don't fray in the wash. You can see mine below.
Decide how long you want your ties to be and sew the ends securely. The
only thing left is to hem up your skirt. I did a double 1/4 inch roll
up on the bottom.
Try on your skirt and make any adjustments you want at this point. I ended up needing to take in the sides about an inch on each side. No problem.
If you have any questions, feel free to ask. Hope it all makes sense. All in all, I was proud of myself and love feeling like I saved $20!


