
Showing posts with label Clothing. Show all posts
Showing posts with label Clothing. Show all posts
Saturday, May 26, 2012
Jean Shorts with Ruching and Buttons

Saturday, May 19, 2012
Updated Flip Flops

I started with some regular baby flip flops. Her chubby little feet were just hurting in the hard plastic.

So I cut out the plastic and cut some fabric strips from an old t-shirt.

Then braided the strips in a regular braid.
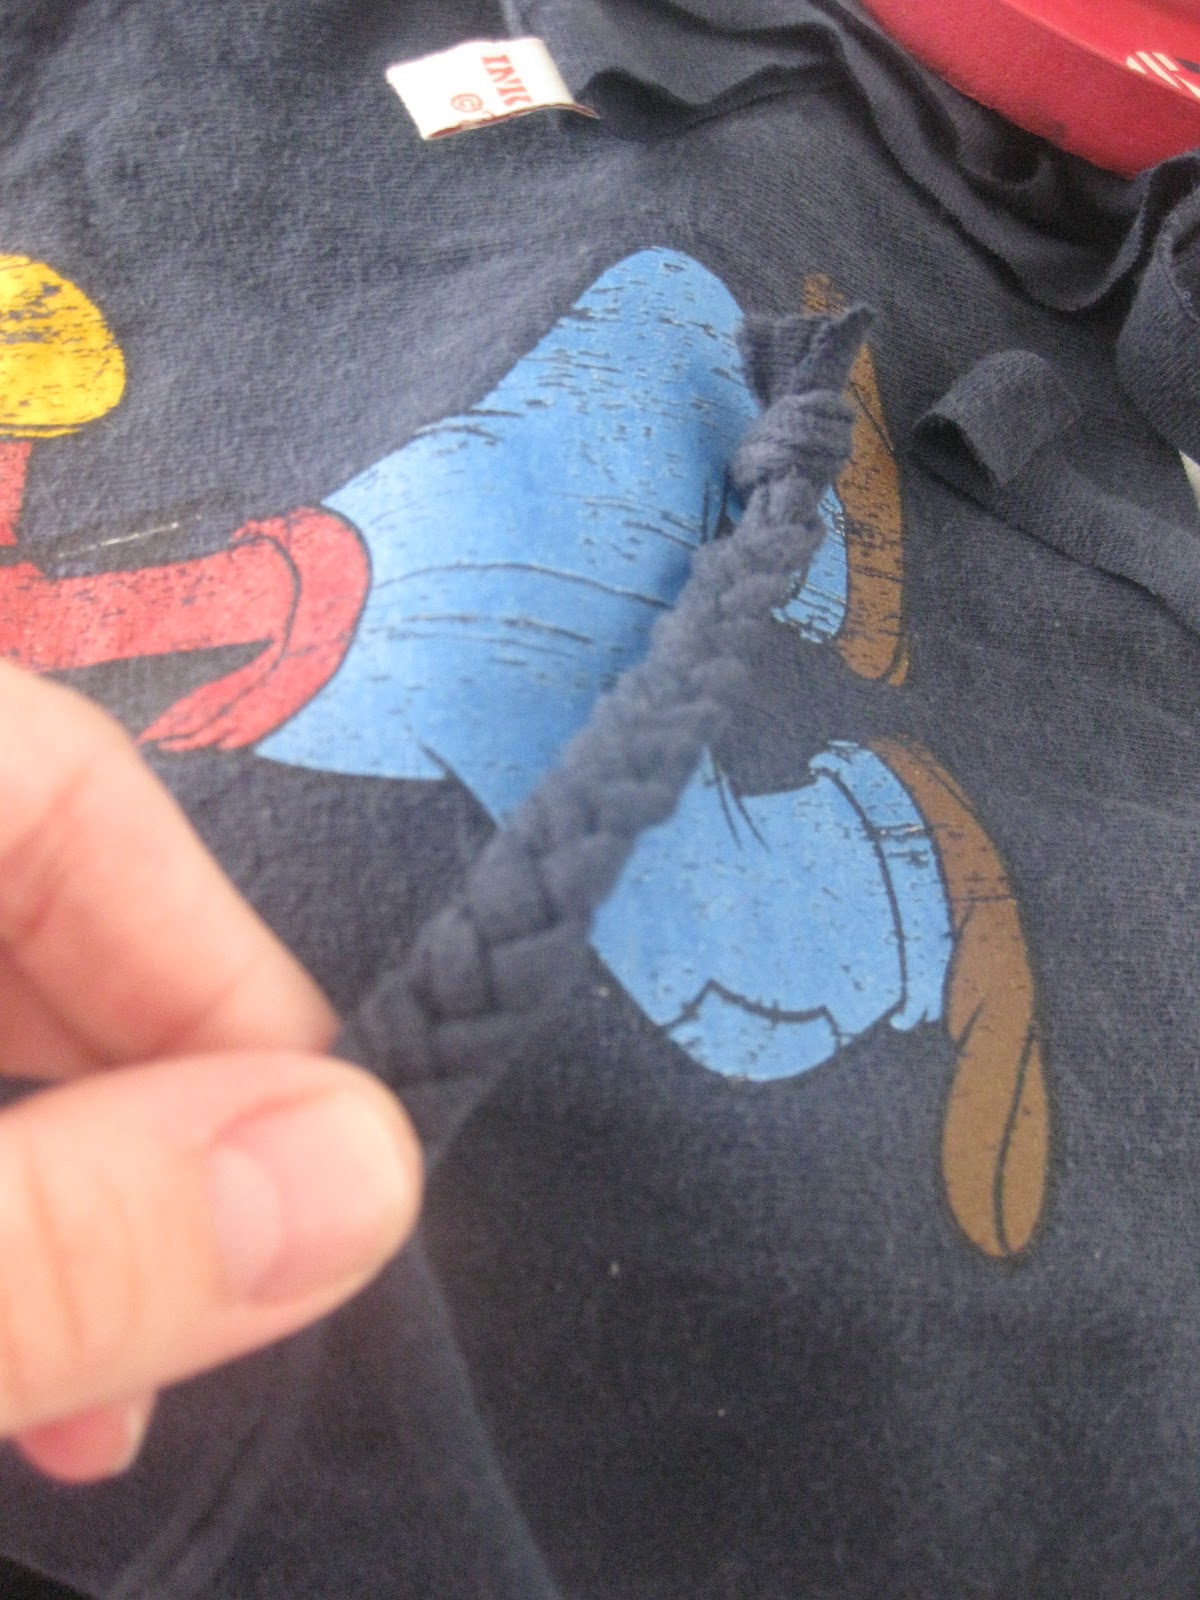
I measured how long I wanted them in the sandal and tied off the ends. Remember that the knit will stretch a little so you'll want it to be snug on the foot.


Wrap some thread on the area that fits between the toes.


Now you are going to take some unbraided strips and feed them through the holes in the back. Loop over your braided piece and back down. Glue in place.


Thursday, April 19, 2012
Knock Off Old Navy Skirt Tutorial

I am about a size medium. If you need to adjust the size of the pattern, here is what you need to know. You want your waistband a couple inches bigger than your waist so that you have room to get in. Each tier should be about 1.5 times wider than the one above it. You can also go a little longer with the skirt by increasing the 7 inch tiers to 8 or 9 inches. Just remember each inch you add on each tier adds 3 inches to the skirt length.


5"x40" waistband
7"x60" tier 1
7"x90" (sew the 2 -45" strips to make one long strip) tier 2
7"x120" (sew the 2 - 60" strips to make one long strip) tier 3
Now that you have everything cut, here's where we start. Take your waistband piece, fold and press it down the center so that it is 2 1/2 inches now. Now you are going to take your 7"x60" strip and run it through your sewing machine with a gathering stitch about 1/8" from one side. Make sure to leave the ends long in case you need to pull out some of the tightness in your gathered stitch. This material is pretty thin, so you machine will gather it right up. Here is how mine came out.


Once you have the skirt back to right - side out, we are going to do a top stitch about 1/8 above your seam. You want to fold your seam up under it from the back. This will not only hold your seam up and keep it secure, but it makes the garment look a little less homemade and a little more store-bought. (Like the original one in the picture.

Once you add your second and third tiers, sew the two ends together to create your skirt. Here's what you have when you are done.


Decide how long you want your ties to be and sew the ends securely. The
only thing left is to hem up your skirt. I did a double 1/4 inch roll
up on the bottom.

Try on your skirt and make any adjustments you want at this point. I ended up needing to take in the sides about an inch on each side. No problem.

Sunday, April 8, 2012
Girls' New Easter Dresses
I looked at a lot of different dresses for inspiration and decided on making a fun layered Easter dress for the girls this year.
I made my own pattern. I used a t-shirt that fits well to measure for my bodice.
Here's for the front:(note the length is short to make it a high waisted dress)
 Here's for the back: (notice I added an inch on the fold to allow for a seam in the back with button closures. Also note that the front has a deeper neckline and back is higher.)
 To measure for the skirt, I used these calculations:
 The width is 1 1/2 times your waist measurement (or 2 times if you want it fuller). Then you measure your child to see the total length of the skirt. The first tier is 1/3 your length + 1 inch, the second tier is 2/3 length +1 inch, the third tier is full length +1 inch.
Here is the final product
 I added a ruffle in the front to tie the fabrics in a little better.
 And I made button closures in the back. I'm excited for the girls to wear them for Easter.
I made my own pattern. I used a t-shirt that fits well to measure for my bodice.
Here's for the front:(note the length is short to make it a high waisted dress)


Here is the final product


Friday, March 23, 2012
Braided Knit Tee
I made this tee similar to how you make a tiered skirt. Then braided some knit material for the top. Nice and cool for the upcoming hot weather.


Friday, March 16, 2012
Tee With Ruffly Heart


The lighting was bad on my camera, so I'm sorry it's hard to see(if you click on the image, it may be a little easier). I sewed the ruffles on a separate piece of material behind my shirt. Then sewed around it in a heart shape and cut out the fabric so that the ruffles peek through. I hope that makes sense. There is a really good tutorial on Make It and Love It. Enjoy!
Thursday, March 8, 2012
Girls Peasant Blouse
I found a super easy tutorial on making a girls peasant blouse here on Indietutes. I wasn't too impressed with her fabric choice, but if she's like me, she probably just used whatever she had laying around the house. Totally been there. Anyways, here's my little girls peasant blouse. It was simple and doesn't require much fabric. I'm tempted to try to make one for myself or maybe even convert it to a dress (hmmm), but I digress. Enjoy!


Tuesday, February 7, 2012
New Skirts!
I've had some new skirt ideas tucked away, waiting for one of my girls to need them. They are all pretty easy and I'll even show you where you can find tutorials and patterns to make your own. (by the way, sorry the skirts are all so wrinkly - I had already washed them once and was too lazy to iron)
First is this tiered skirt. Break out your calculator because you'll need to do some math for this one, but then piecing it together is pretty easy. You can find a tutorial on Crap I've Made. (or countless other websites if you google it)
 Second was the Starboard Skirt found on Simple Simon & Co. Next time I'm totally doing a cute print like hers for me. My daughter, however will not wear such cool colors, so I did hers in jean.
 For the third skirt, I was inspired by Make It and Love It. I wasn't brave enough to use the elastic thread and try shirring, though. It's on my list of things to try, though.
 I did a simple flat waistband and side zipper instead. These are all great easy projects that take very minimal sewing ability. Seriously, if you haven't tried sewing a skirt, these would be great patterns to start with.
First is this tiered skirt. Break out your calculator because you'll need to do some math for this one, but then piecing it together is pretty easy. You can find a tutorial on Crap I've Made. (or countless other websites if you google it)


Saturday, February 4, 2012


Monday, January 23, 2012
Baby Gift Sets
I'd like to show you what I've been working on in my Etsy Shop lately.
Instead of trying to guess what people want in a baby gift set, I am trying something a little new. I posted up my baby items and am going to let the buyer choose which items they want. You can pick your favorite 5 items for $20.
Here is the boy set:


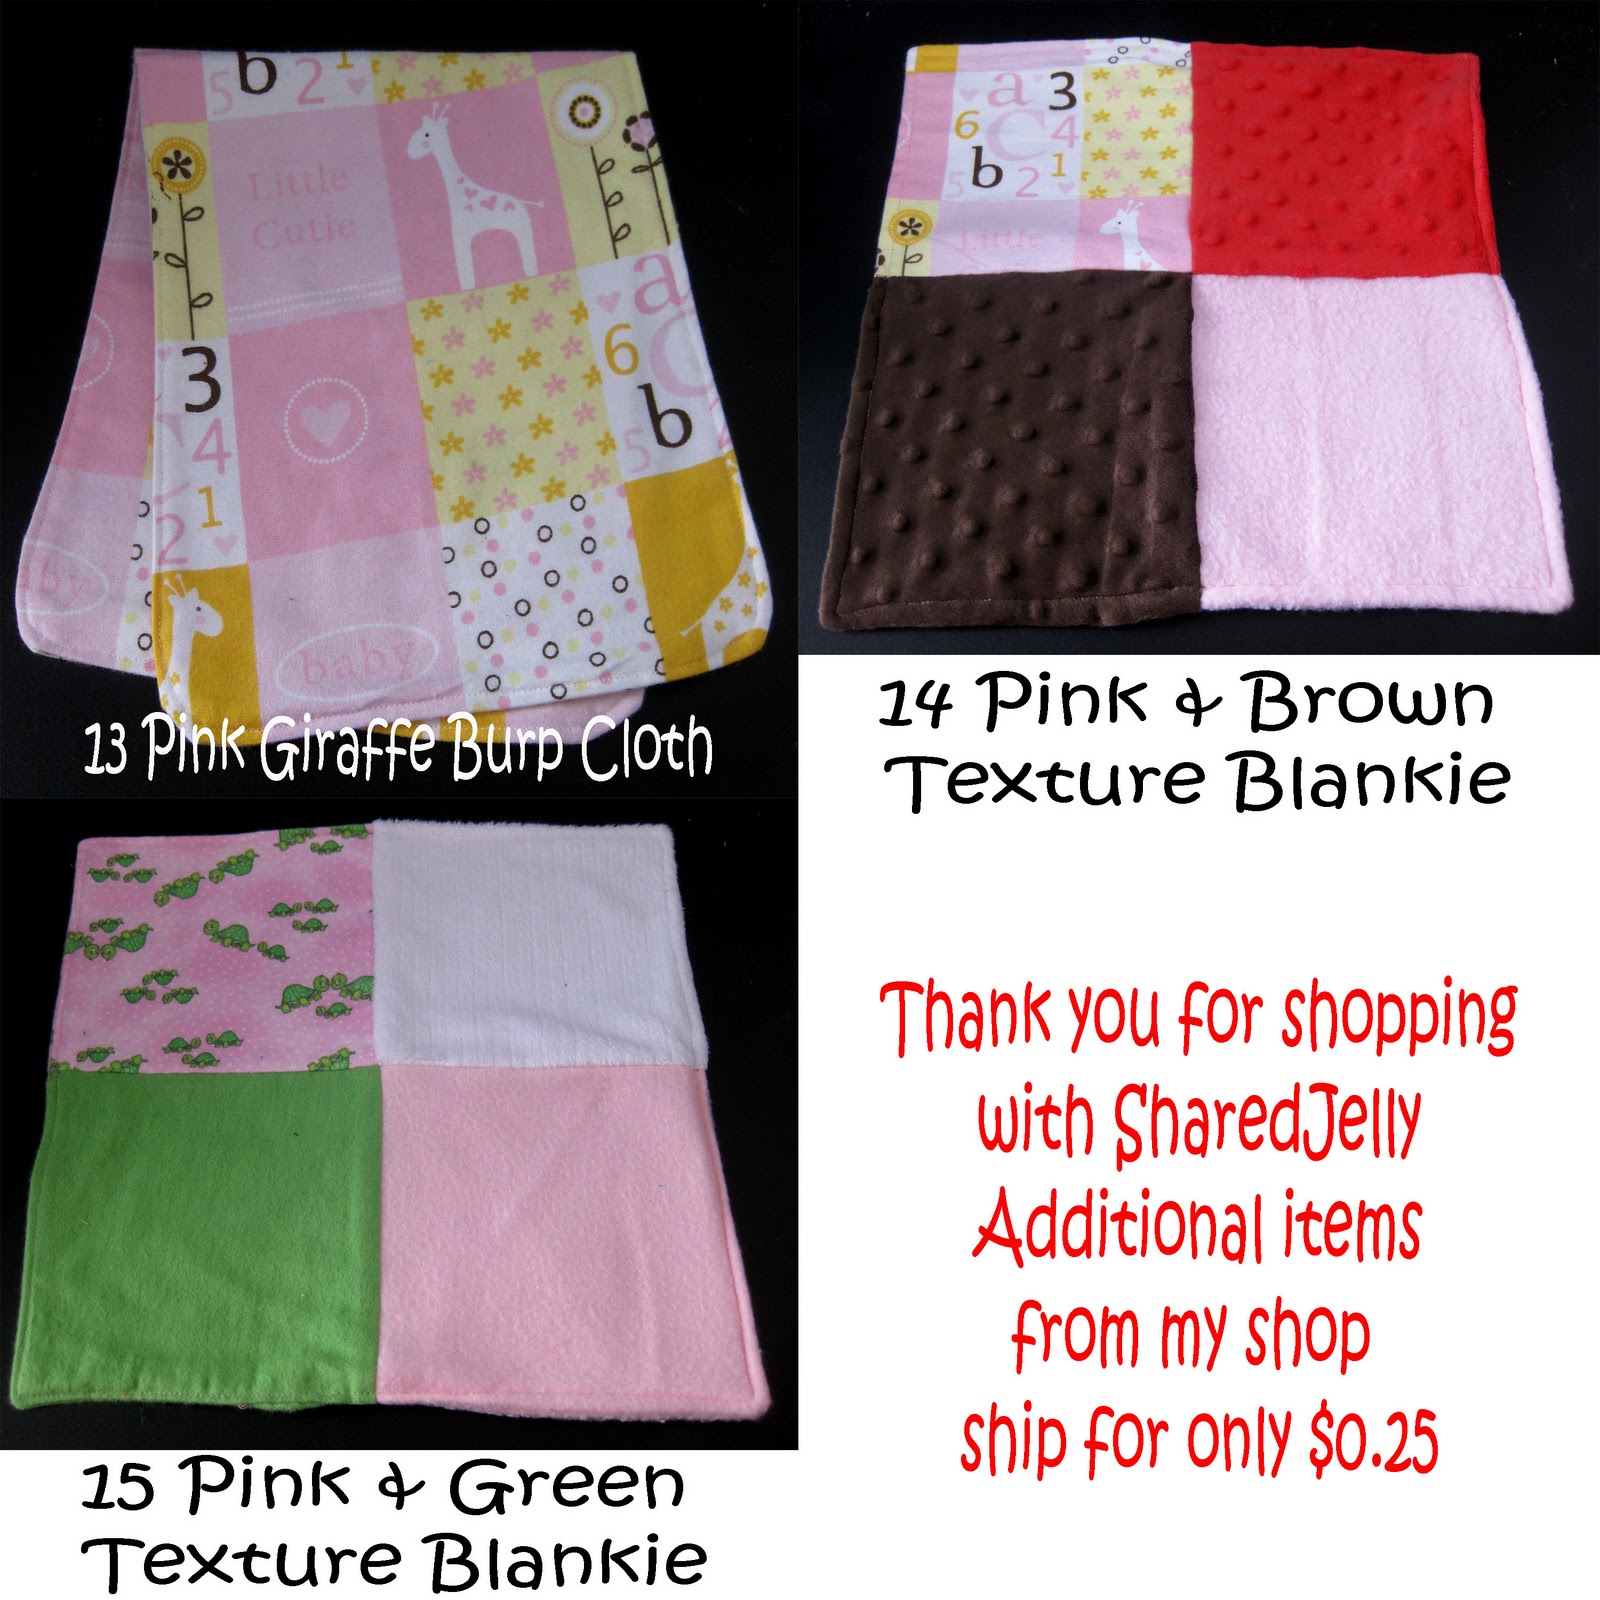
 And the girl set:


 Which items would you choose?
Instead of trying to guess what people want in a baby gift set, I am trying something a little new. I posted up my baby items and am going to let the buyer choose which items they want. You can pick your favorite 5 items for $20.
Here is the boy set:


Subscribe to:
Posts (Atom)